

How To Organise Your Fridge & Freezer
Let’s be honest, rummaging through a chaotic fridge or freezer is nobody’s idea of fun. Whether you’re meal planning, rushing to make packed lunches, or just trying to avoid wasting food, a well-organised fridge and freezer can make daily life so much easier. Here are my favourite practical tips to help you organise your space like a pro, reduce food waste and create sustainable systems to organise your fresh food.
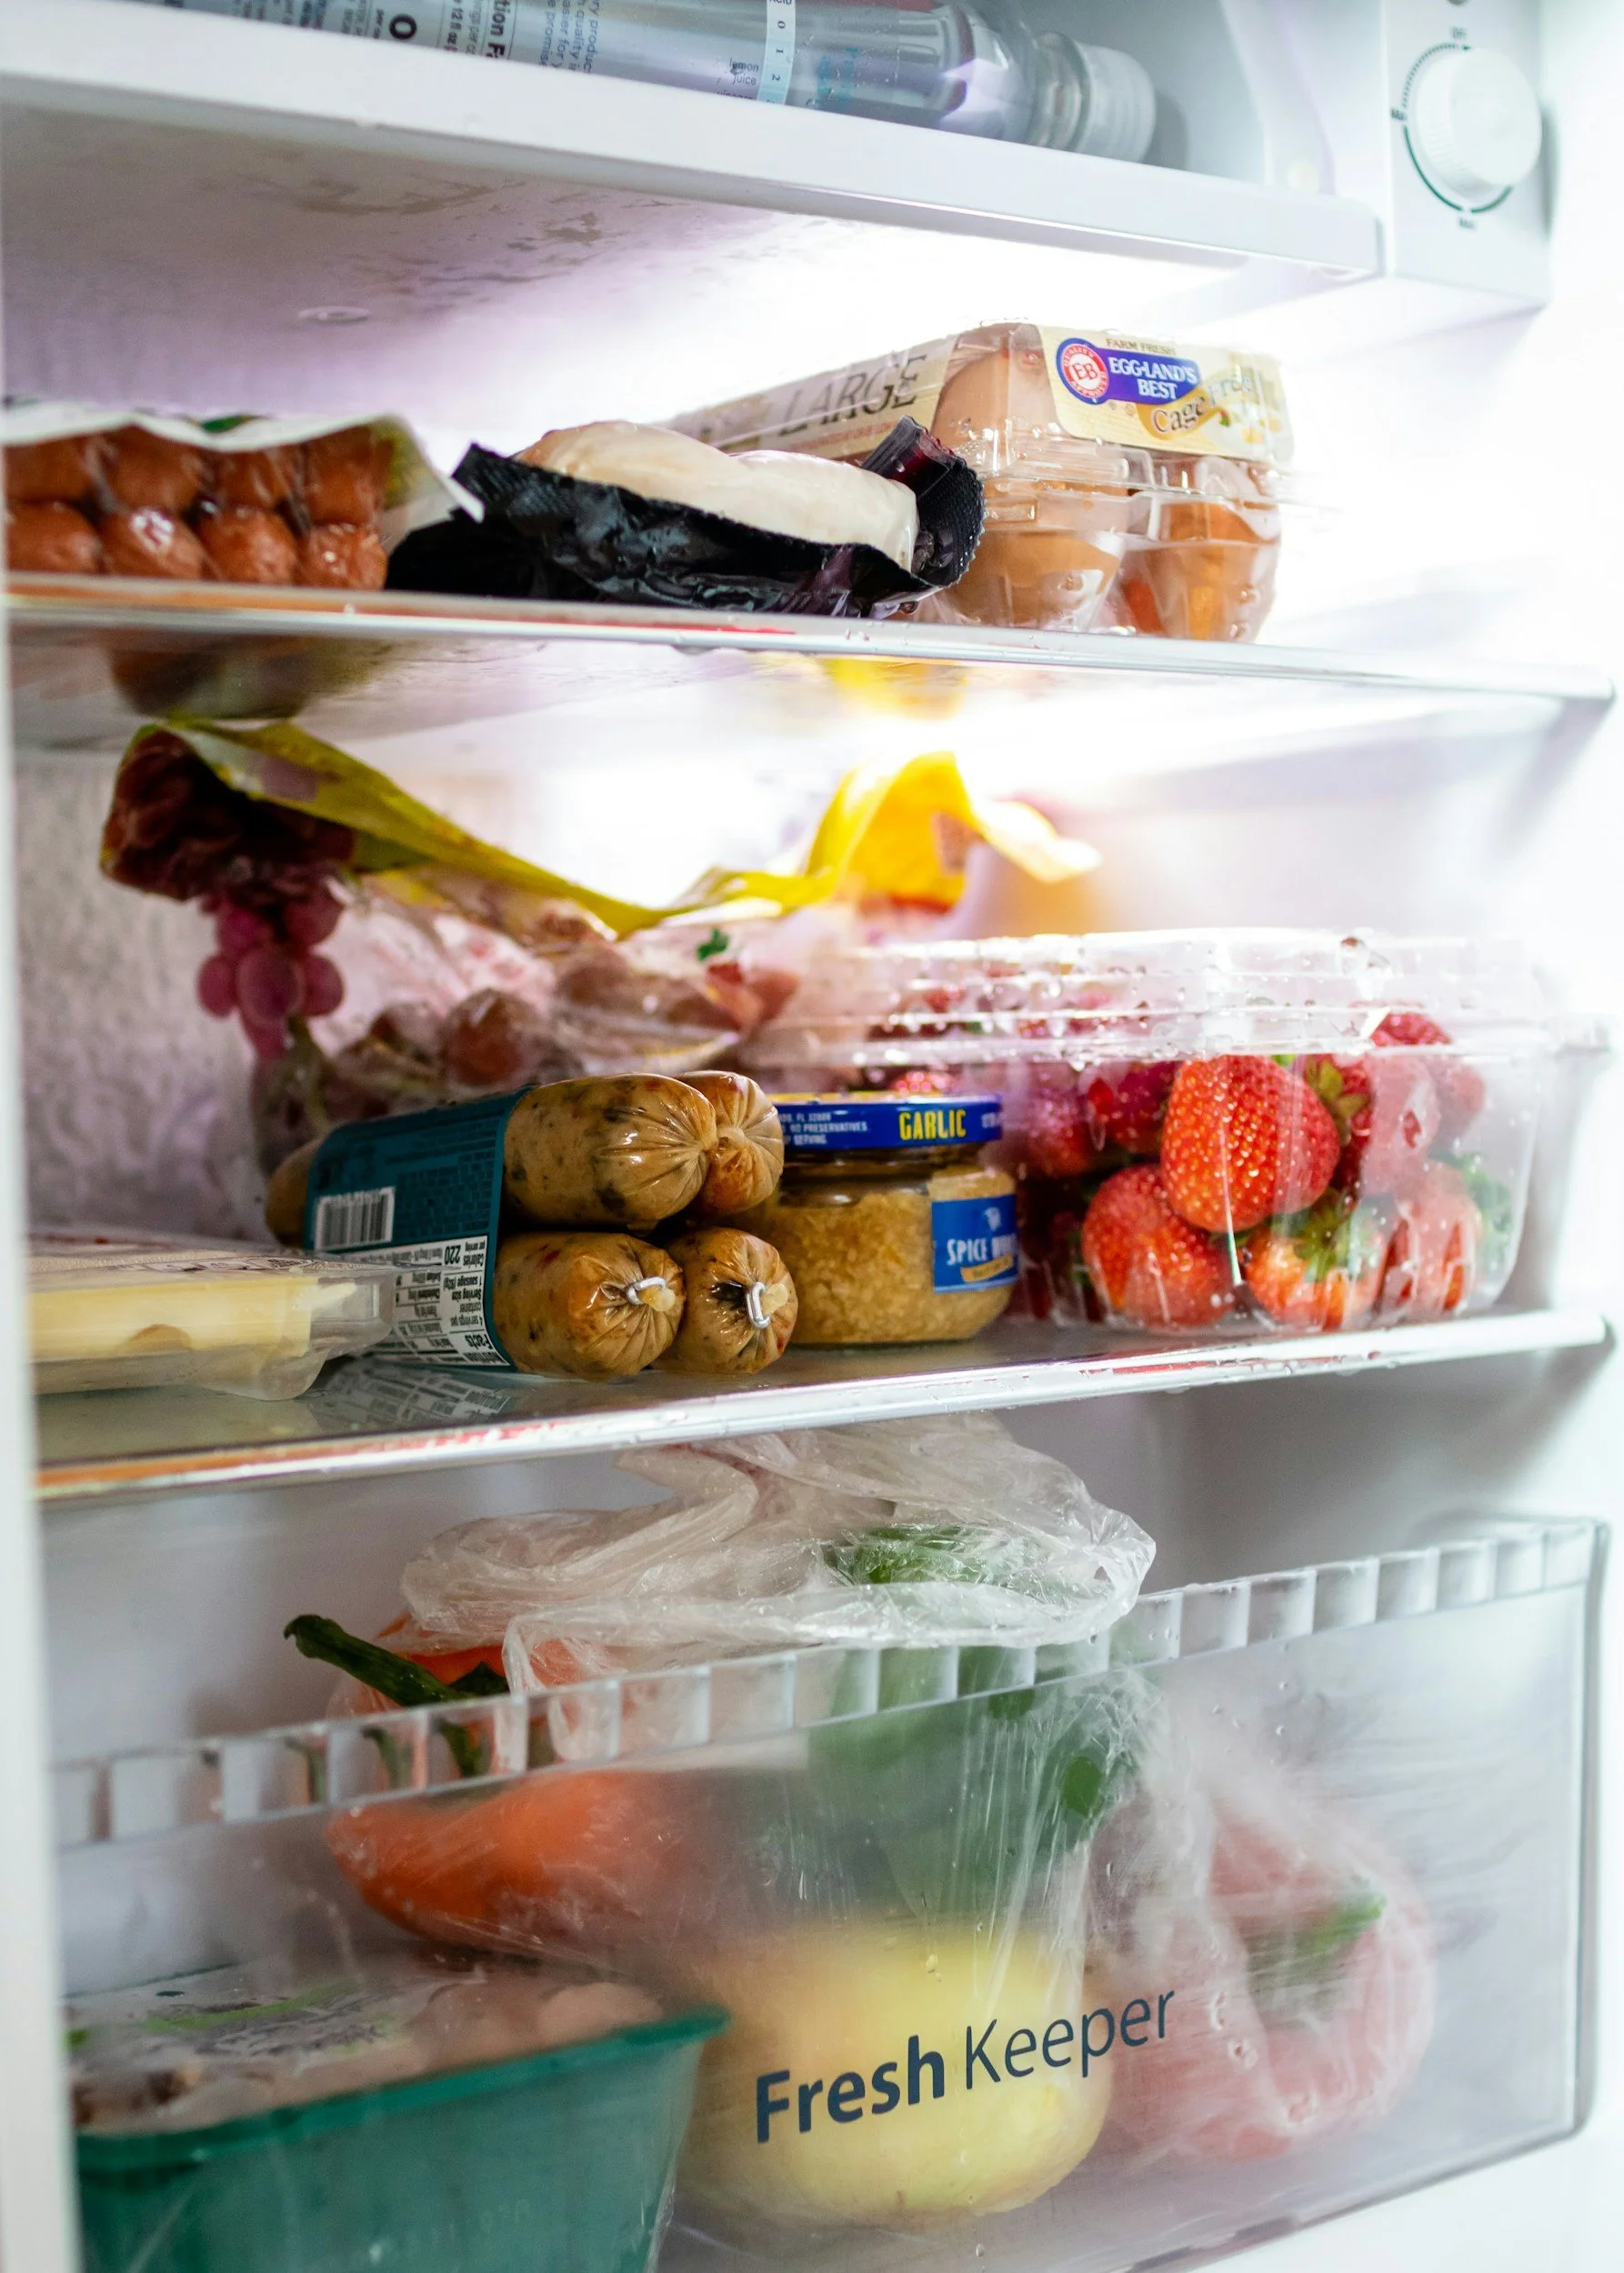
Fridge organisation can make a huge difference to your meal planning and food bills.
Fridge Organisation Tips
1. Start with a Full Clear-Out & Clean
Before you organise anything, take everything out. Bin anything out of date, wipedown every shelf and drawer, and give it a proper reset. This not only helps you see what you’ve got, but also stops sticky spills and smells from lingering.
Tip: Use warm water with a splash of white vinegar or lemon juice for a natural, food-safe clean.
2. Follow the Cold Zones
Fridges aren’t evenly cold throughout - different sections are better suited for different foods:
● Top shelves (warmest): Store items that don’t need cooking - like leftovers, drinks, snacks, condiments & sauces.
● Middle shelves: Dairy (milk, cheese, yoghurts, butter) and cooked meats.
● Bottom shelf (coldest): Raw meat, poultry, and fish - always in leak-proof containers or trays.
● Drawers: These are designed for produce. If you have two, use one for fruit and one for veg - keeping them separate helps preserve freshness. If you don’t have this, try to keep them separate in the drawer if you can.
3. Use Clear Storage Bins & Trays
Group similar items in clear boxes or baskets so you can pull out the whole category in one go. Some useful zones might include:
● Sandwich/lunch bits (ham, cheese, spread)
● Breakfast (yoghurts, jam, juice pouches)
● Kids’ snacks
● Sauces and condiments
Clear baskets or Lazy Susans work brilliantly for rounding up jars, snacks, or sandwich bits, especially on the top shelves of tall fridges. No more knocking over bottles to reach the jam at the back - just spin or slide the whole basket forward.
4. Implement a “Use Me First” Box
If you’ve got food that’s close to going off, pop it in a labelled box (ideally at eye level) so it gets used before it’s wasted. This is a game changer for reducing waste and planning meals around what you already have.
5. Follow the FIFO Rule
FIFO stands for First In, First Out. When you buy new groceries, pop them at the back so older items are used first. This is especially helpful for things like yoghurts, sauces, and leftovers - and it helps reduce waste, which is better for your budget and
the planet.
6. Don’t Store These in the Fridge!
Some foods actually spoil faster in the fridge, or lose their flavour. Keep these out for better taste and texture:
● Tomatoes
● Bananas
● Bread
● Potatoes
● Onions
● Avocados (unless they’re ripe and you want to slow them down)
Freezer Organisation Tips
If your freezer is a black hole of forgotten leftovers and freezer-burned mystery meals, you’re definitely not alone. But with a few smart systems, your freezer can become your go-to for stress free dinners, saving money, and always having backup
meals on hand. Here’s how to take back control of your freezer:
1. Empty, Sort, and Clean First
Start with a full reset. Take everything out, throw away anything that’s unlabelled, freezer-burned, or more than six months old, and give it a quick clean while it’s empty.
Tip: Wipe drawers and shelves with warm water and a splash of white vinegar. It will quickly melt any chunks of frost buildup, and is quick, effective, and safe for food storage.
2. Organise by Category
Instead of chucking things in wherever they fit, assign zones or drawers by category. Some ideas include:
● Cooked meals (batch cooked pasta bakes, stews)
● Raw meat/fish
● Frozen veg/fruit
● Bread and baked goods
● Snacks and convenience foods (chips, pizza, nuggets)
Tip: Use plastic baskets or drawer dividers to keep it contained. No more digging through bags of peas to find your sausages!
3. Flat-Freeze for Maximum Space
Want to upgrade your freezer game? Freeze things flat in sandwich bags (make sure they are ziplock to avoid annoying leaks!). Once frozen flat, they stack vertically like books - easy to grab, quick to defrost, and far less bulky than normal tupperware.
This works brilliantly for:
● Soups
● Sauces
● Mince
● Smoothie bags
● Cooked rice or pasta portions
4. Label EVERYTHING - With Dates!
Don’t rely on memory. Use freezer-safe labels or permanent markers to clearly label what it is & when it was frozen. It’s even more handy if you add reheating instructions or portion information.
As a general rule:
● Cooked meals = use within 3 months
● Raw meat = up to 6 months
● Bread = 3 months max for best texture
5. Freeze in Portions You’ll Actually Use
There’s no point freezing an entire lasagne if you only ever need one or two servings at a time. Portion up your meals into realistic, family-friendly portions before you freeze them, so you only defrost what you need.
6. Leave Room for Airflow
A jam-packed freezer might seem efficient, but it can block airflow and lead to uneven freezing or ice build-up. Try not to cram every corner - and if you notice frost starting to build, take 30 minutes to defrost and wipe it down.
Remember, it’s not about perfection - it’s about making your fridge freezer work better for you. Even just one or two of these tips can save you time, money, and stress. Start small, stay consistent, and you’ll be amazed at how much of a difference these small steps can make.
Please note that all links included are affiliate links, meaning that as an Amazon Associate I earn from qualifying purchases. This does not cost you anything or increase the price for you in any way - the links are purely there as suggestions or inspiration for storage that I have used.